Zapier is a web-based service that allows you to connect applications and automate data transfer between them. Using Zapier’s integration with Comm100, you can send live chat-related event data to different web apps or efficiently perform actions based on triggers you set up, making it easy to automate tedious tasks.
The integration is quick and easy to set up and helps Comm100 Live Chat interact with your favorite web apps such as MailChimp, Zoho CRM, Jira, Slack, Marketo, Trello, and many more. For example, you can add contacts into your Zoho CRM system when a chat ends, send Slack notifications when a chat begins, or update contact information in HubSpot when an offline message is submitted. The possibilities are nearly endless!
Within Comm100, there are multiple ready-made templates to help you set up the integration. Currently, the following events can be used to trigger actions within applications you have connected using Zapier:
- Chat Requested: When a visitor submits a chat request.
- Chat Ended: When a visitor ends a chat.
- Chat Wrapped Up: When an agent wraps up a chat.
- Chat Started: When a visitor and agent begin chatting.
- Chat Transferred: When a chat is transferred from one agent to another.
- Offline Message Submitted: When a visitor leaves an offline message.
This article will guide you through the process of integrating Comm100 with your web applications using Zapier.
Step by Step Instructions
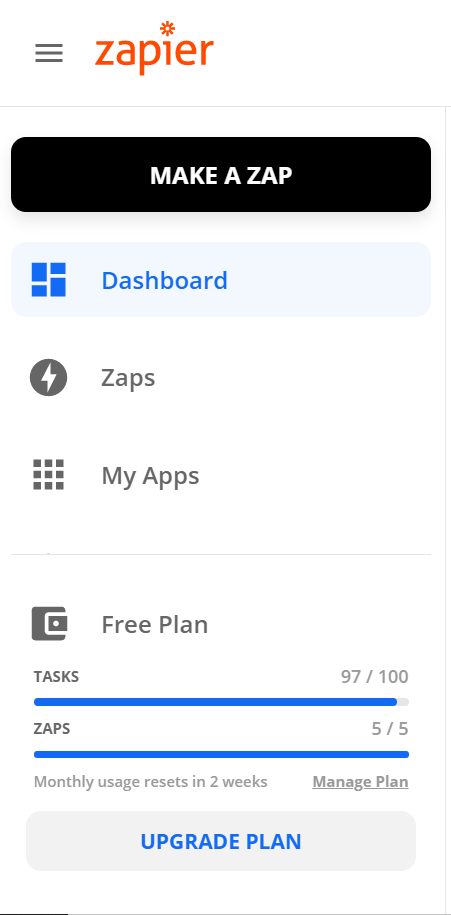
- Log into your Zapier account.
- Click MAKE A ZAP in the sidebar.
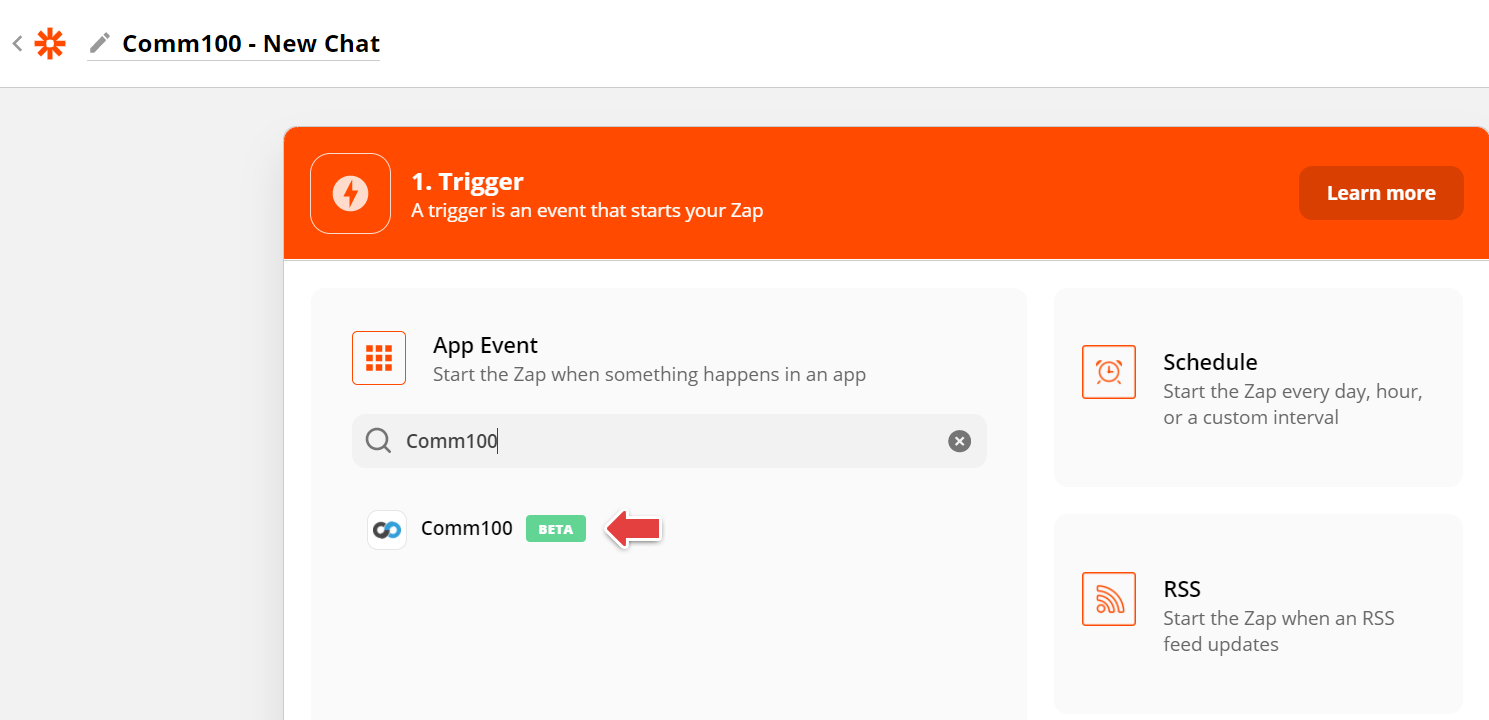
- Enter Comm100 to search and choose the App.
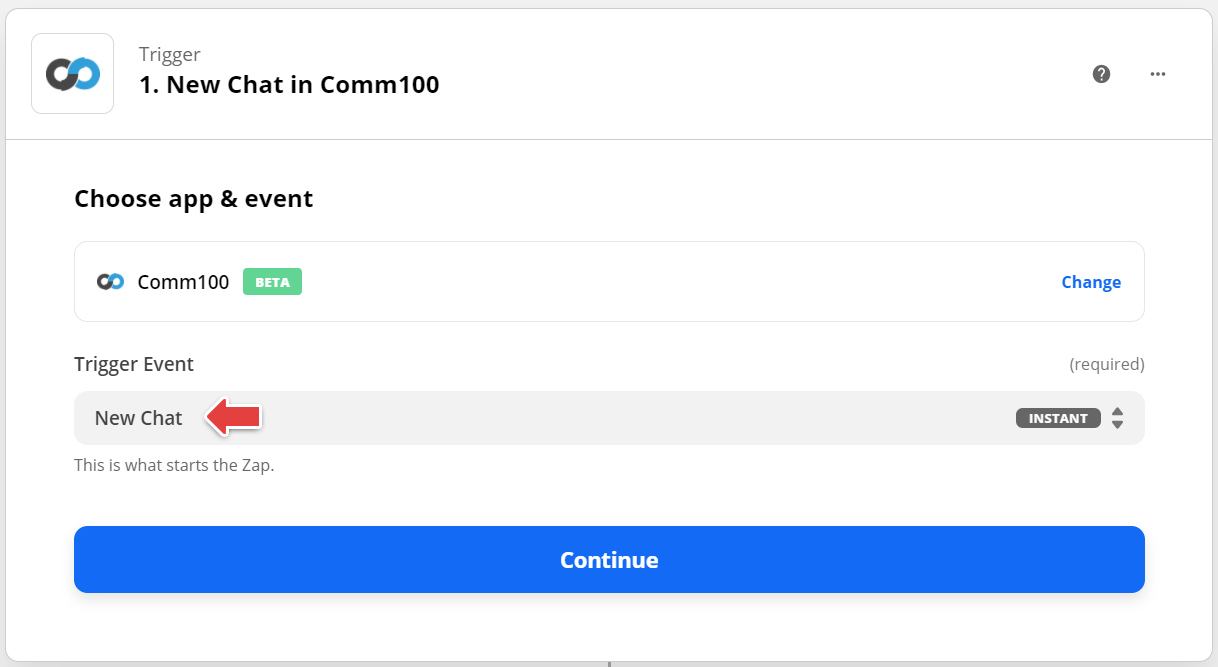
- Choose your Comm100 Live Chat Trigger and click Continue.
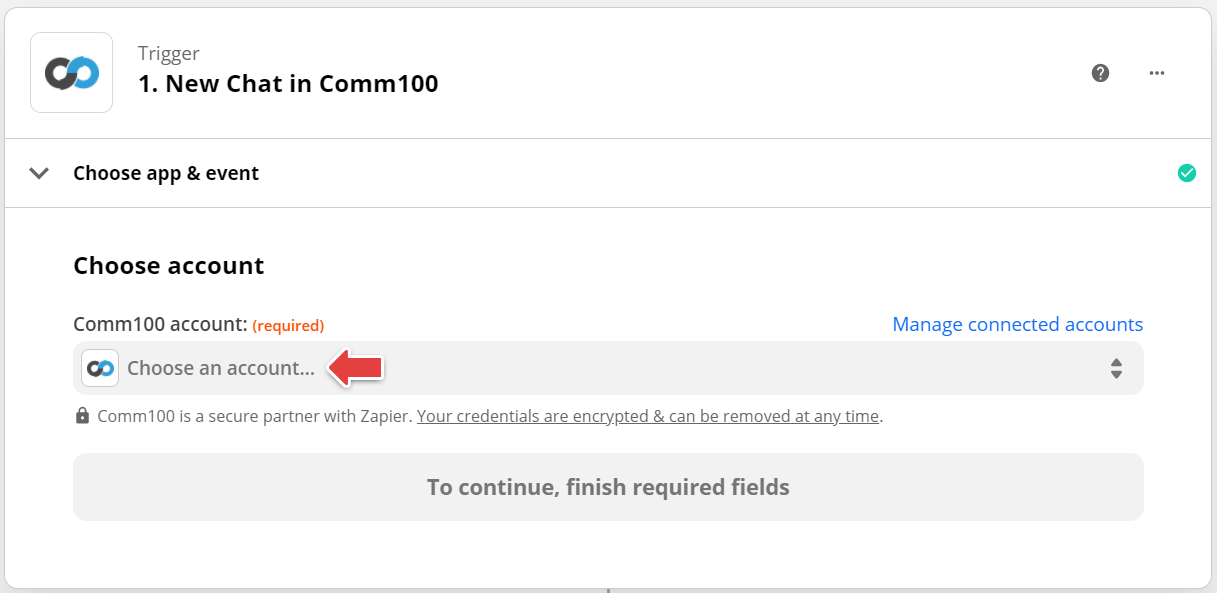
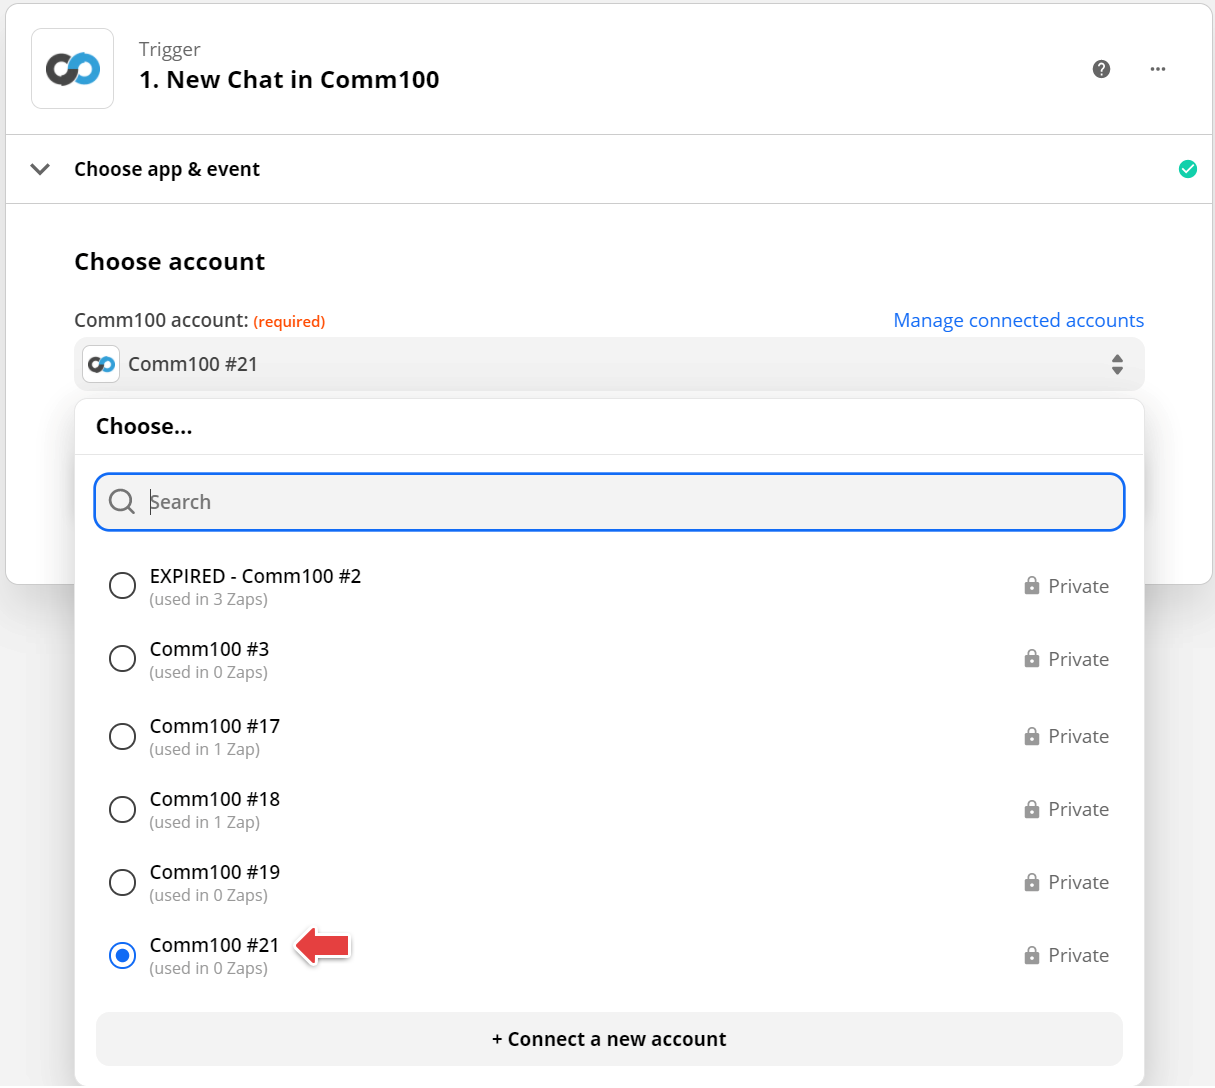
- Click Choose an account or choose a logged-in account.
- In the Search bar, enter Comm100 and choose the Comm100 App.
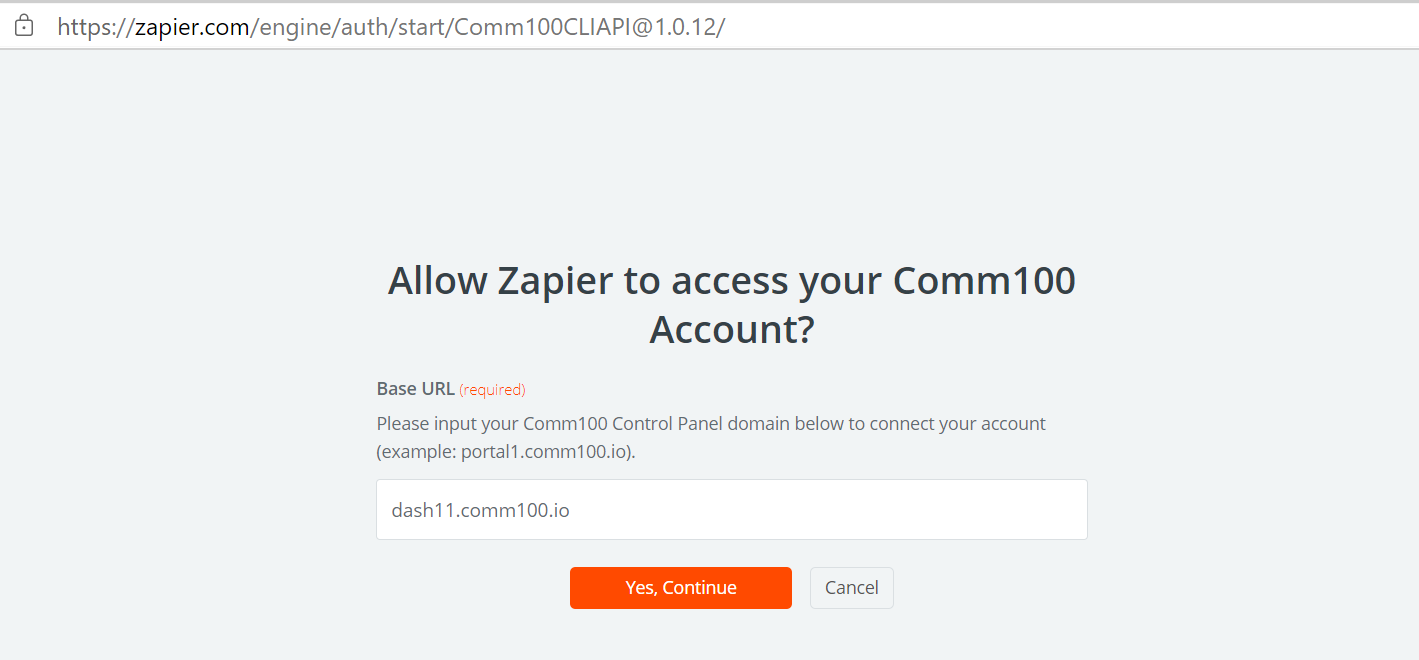
- In the popup, allow Zapier to access your Comm100 Account. Enter the Comm100 Control Panel domain to connect your account, and click Yes, Continue.
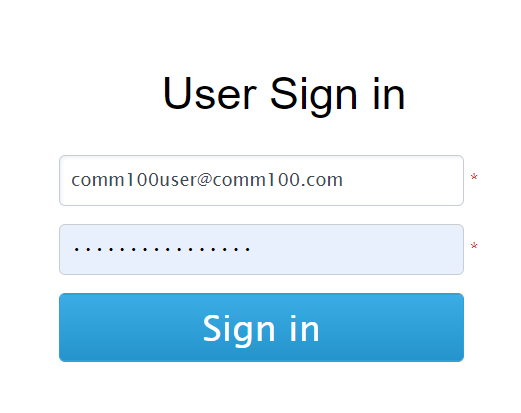
- Log into your Comm100 account.
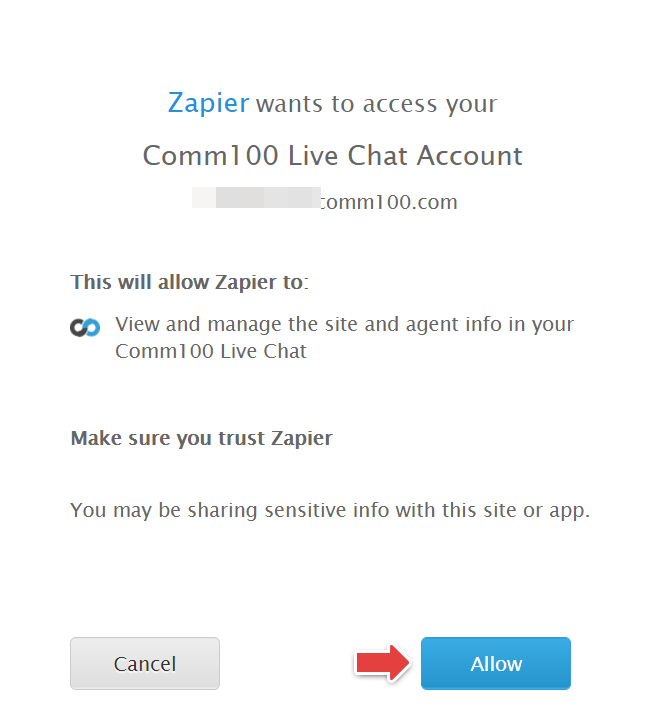
- Allow Zapier to access Comm100. Your Comm100 account is now connected to Zapier.
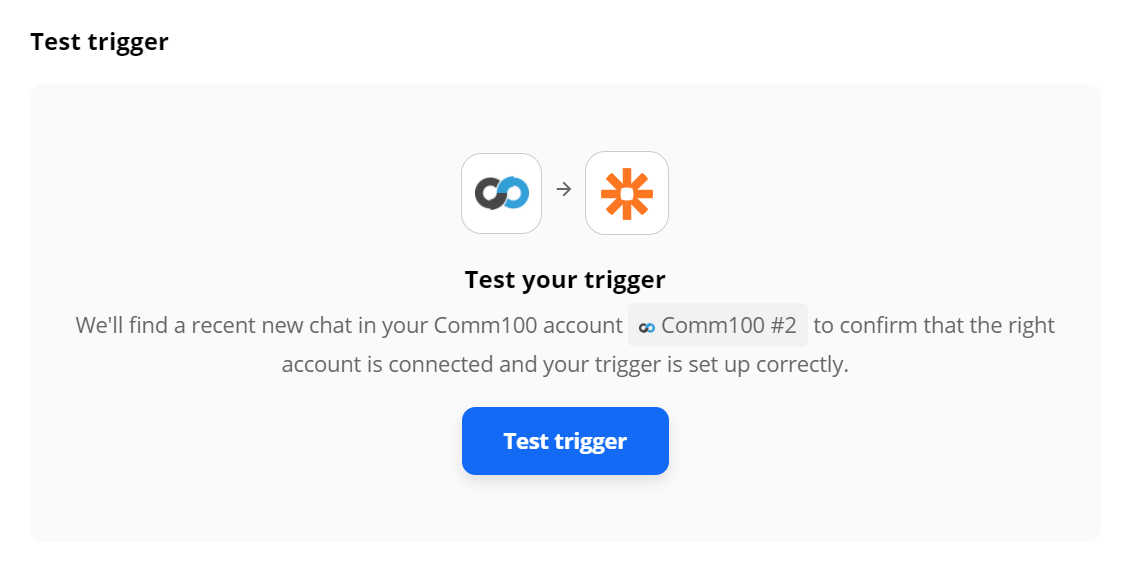
- Click Test trigger to check the connection.
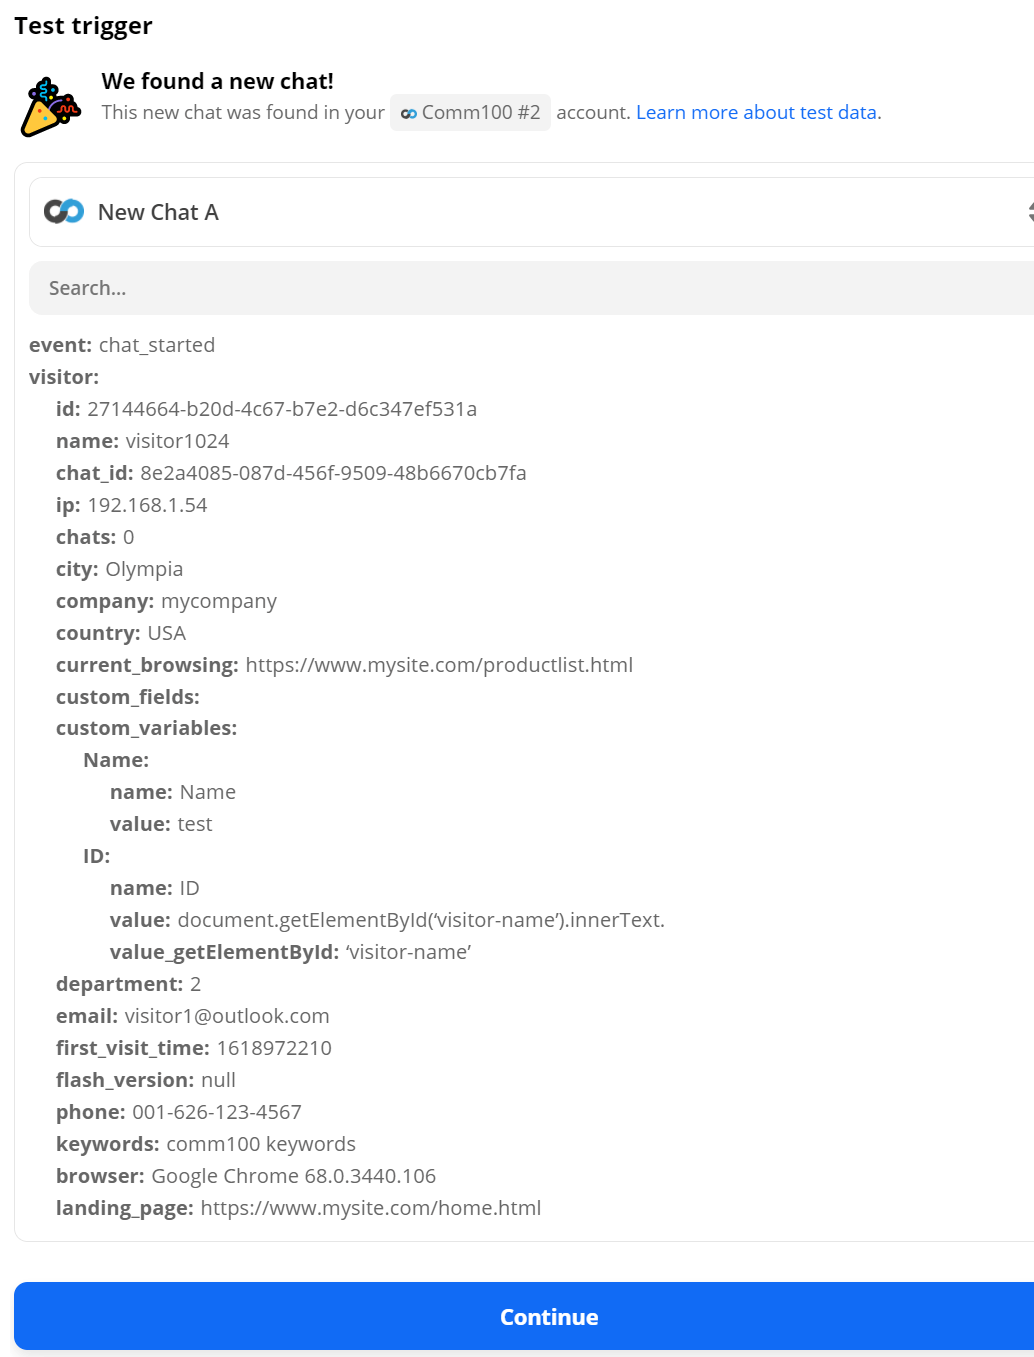
Zapier will access Comm100 API to get sample data to test the connection. This sample data will be used in the Action part as an example. - Click Continue to set up Action.
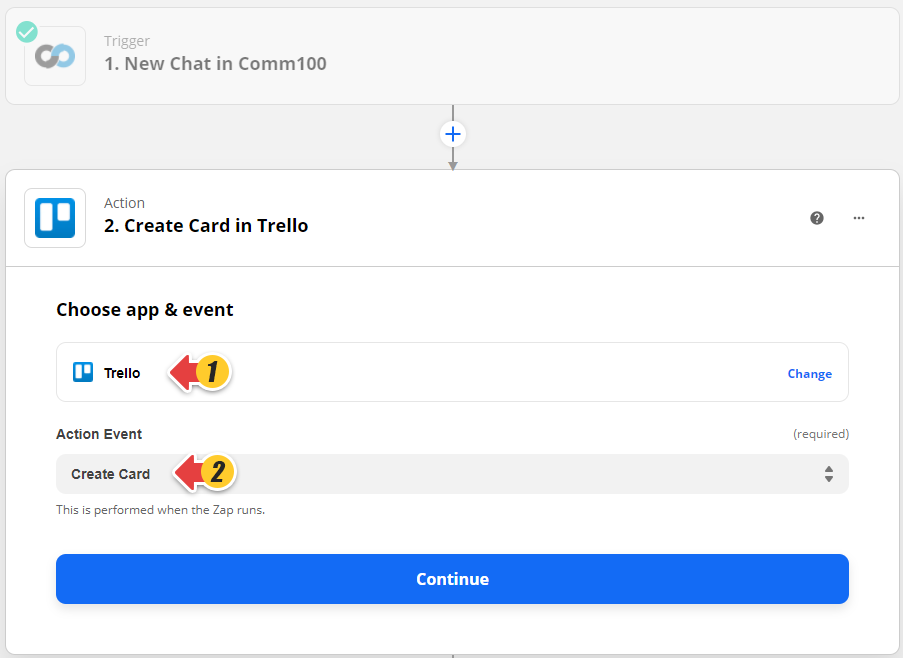
- Choose App and Action Event, and click Continue.
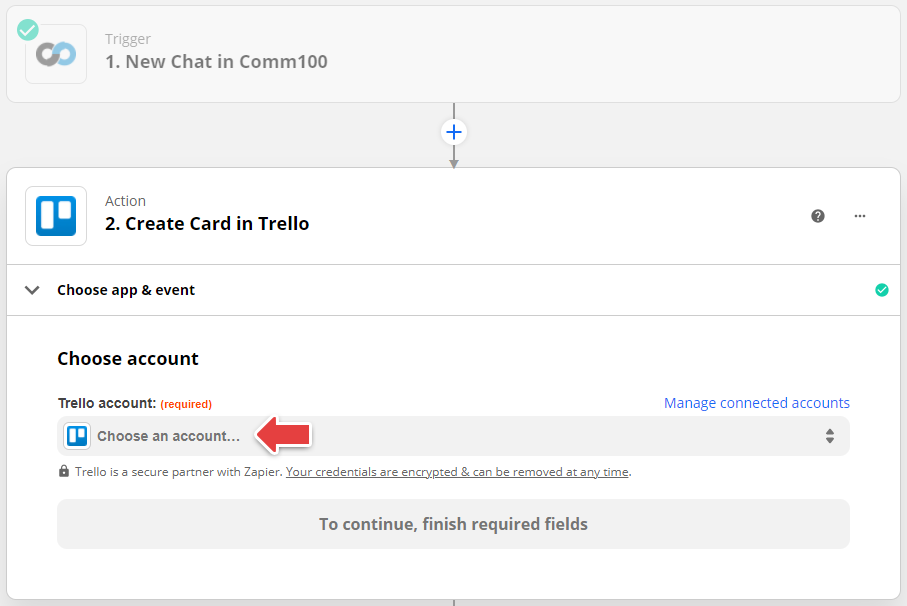
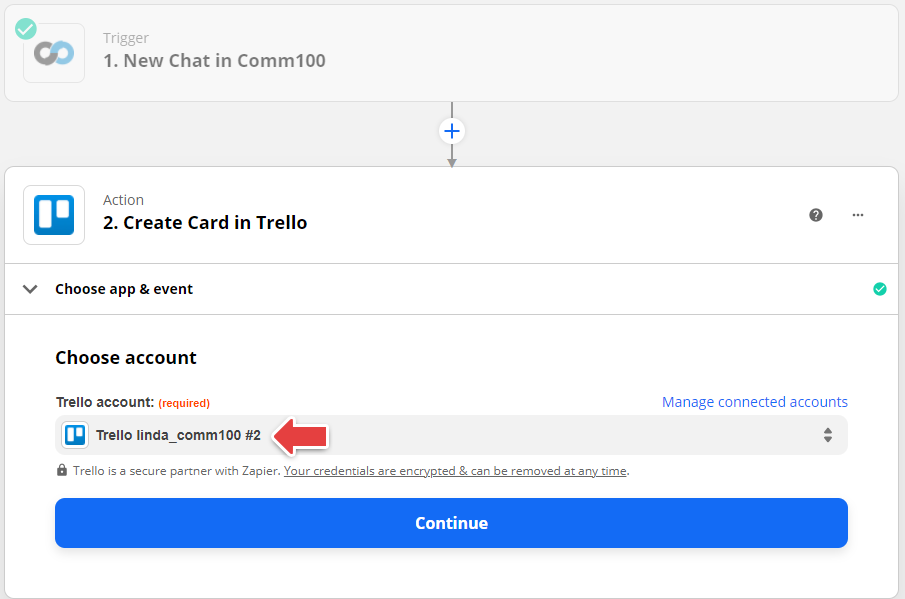
Here, we choose Trello as App and Create Card as Action Event for demonstration. - Choose a Trello account. Click Choose an account to log in as a new account or as a logged-in account to access your web app. In this example, log into your web application (Trello in this case).
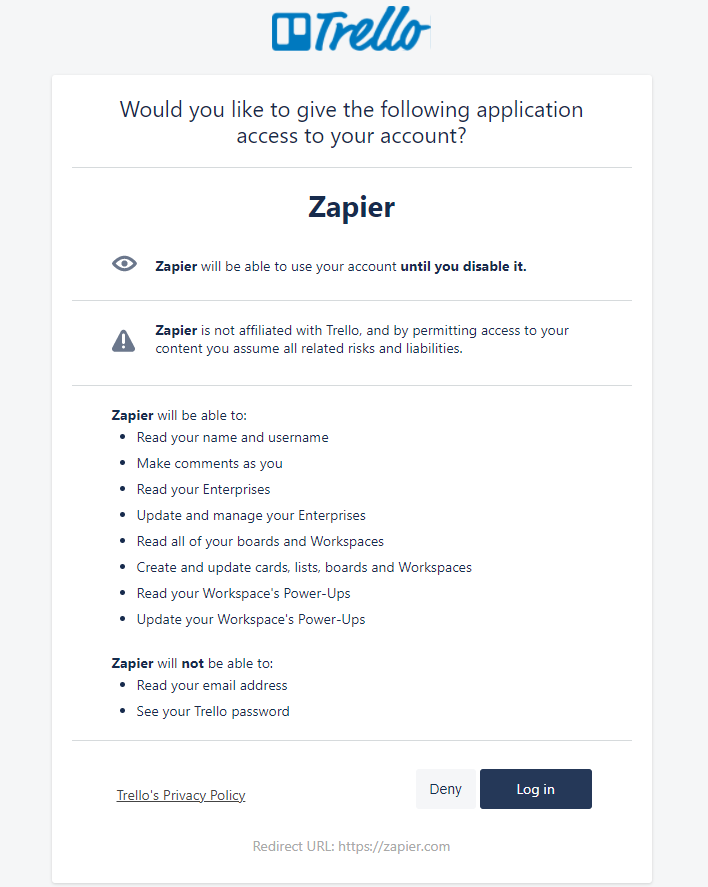
- Allow Zapier to use your web app (Trello in this case).
- Click Log in to access your account.
- Select your application account and click Continue.
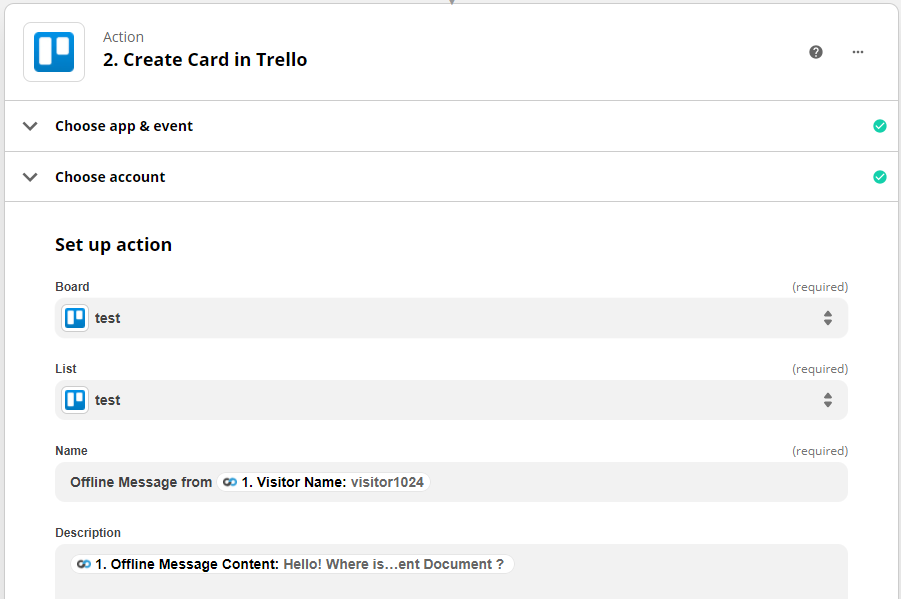
- Here is an example of how you would set up a card in Trello.
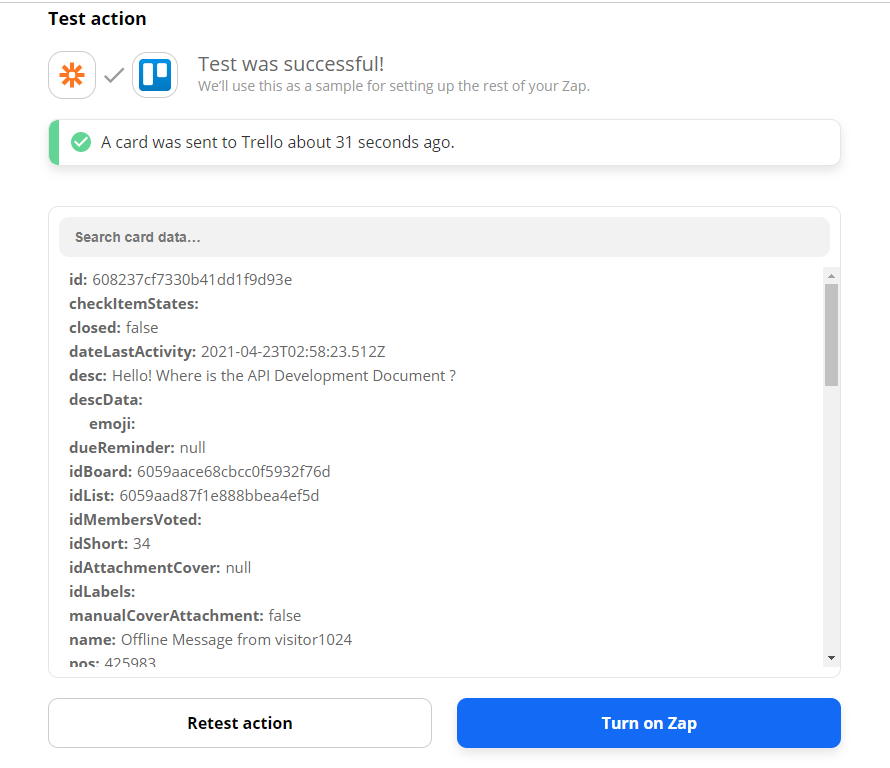
The step will vary depending on the web application you are connecting to. It ensures the correct data will be sent to the correct fields in your target web application. For a Trello card, you need to select Board, List, and Name, and other fields. - Click Test & Continue to send test data to your web application.
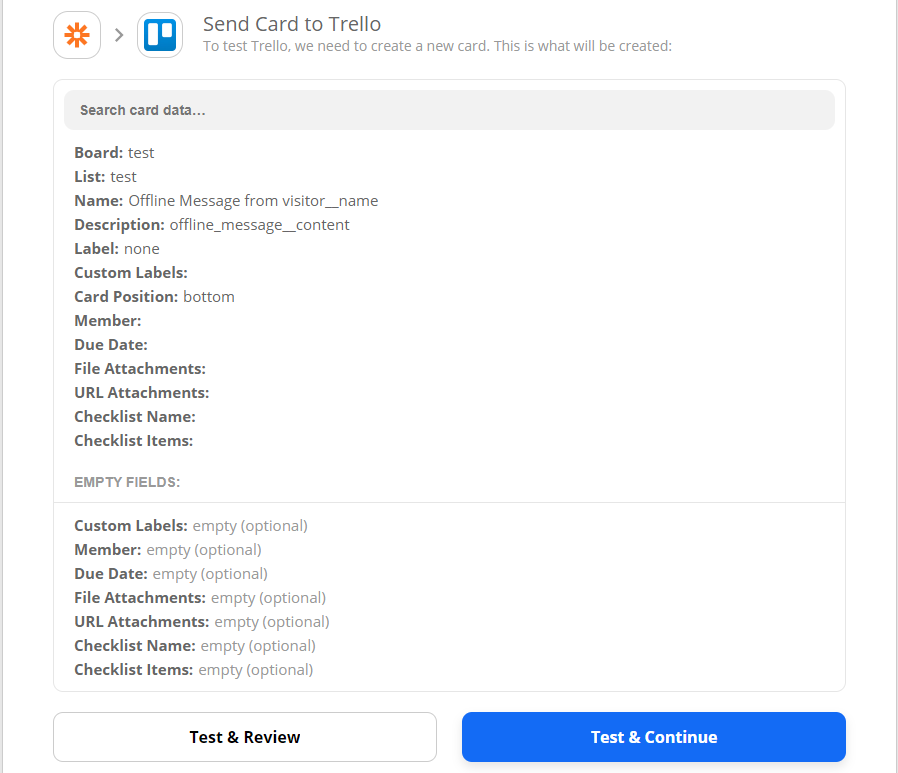
If the test is successful, you will see a notification for a card sent to your Trello account. - Click Turn on Zap to complete the Zapier Action configuration.
- Your Zap is enabled and should be working now. Click Go to my Zaps to find the enabled Zap between Comm100 and web apps on your Zapier Dashboard.
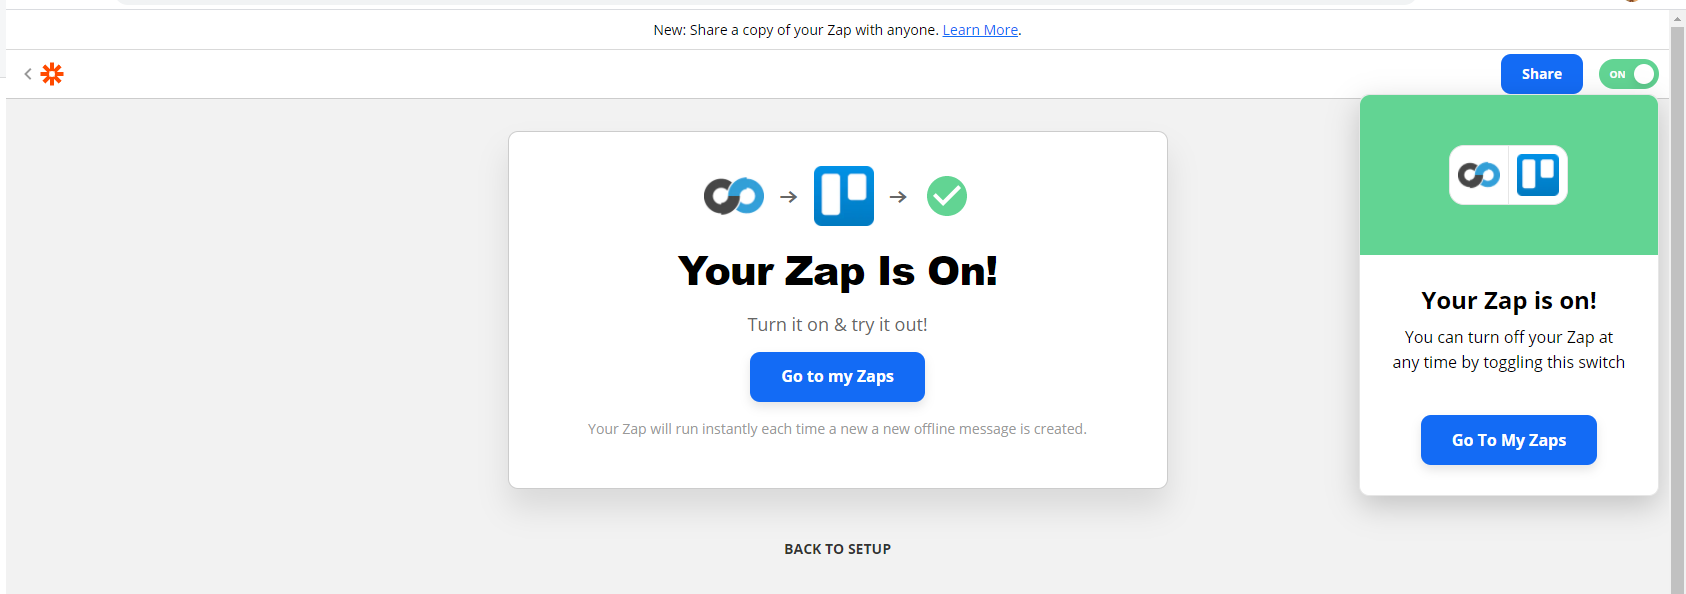
Now, whenever your visitor leaves an offline message for you, the message will be instantly sent to your Trello account as a new card.
Congratulations! You have created your first Zap! You can get started and link the many web apps you use so that you can save valuable time and effort.