You can bind a chat button with a defined agent. After that, the chat requests from this chat button will be routed to the specific agent/department automatically. This is helpful if you want to set up a dedicated chat button for a certain agent.
Step by Step Instructions
- Log in to the Comm100 Control Panel.
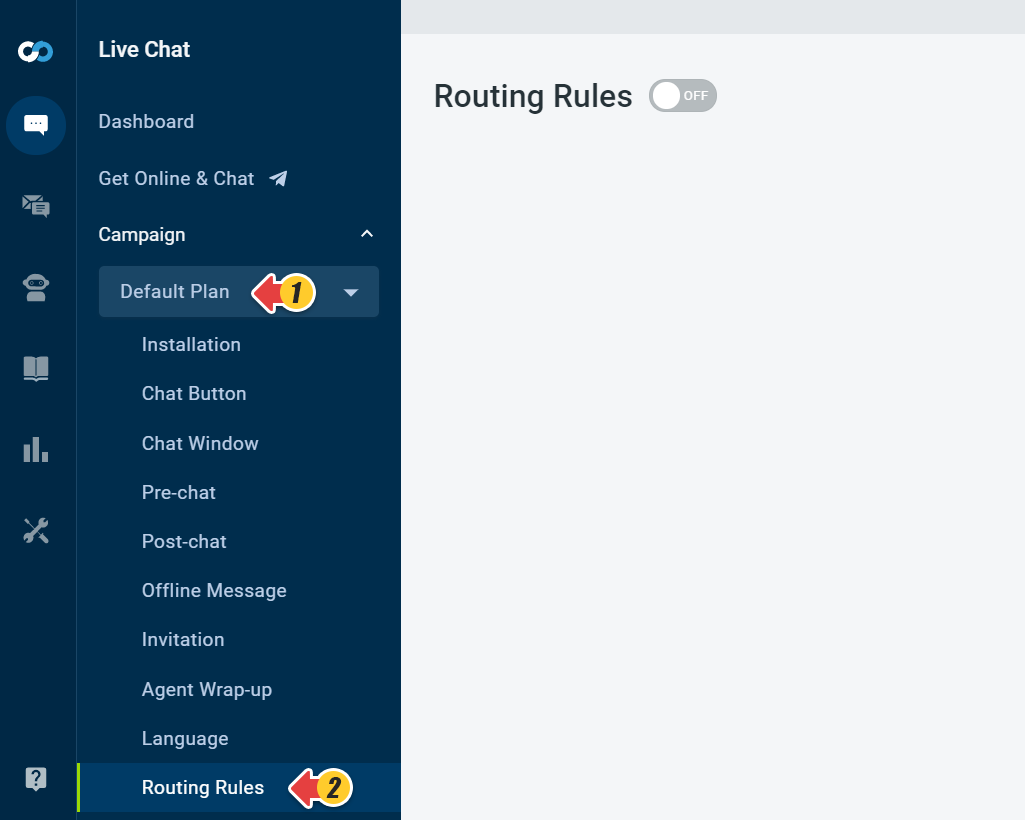
- In the left navigation bar, click the Live Chat tab.
- Select a campaign from the Campaign drop-down menu. If you have multiple campaigns, make sure that you’re customizing the correct campaign from the drop-down list available under Campaign.
- Go to Routing Rules.
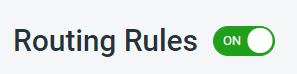
- Turn on the Routing Rules toggle key.
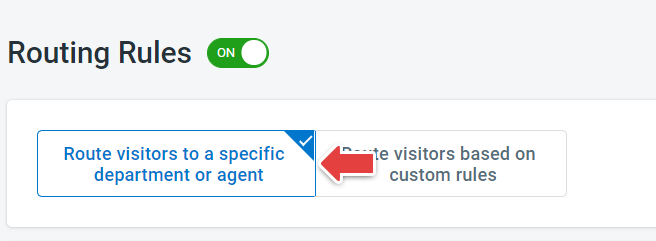
- Select Route visitors to a specific department or agent you want to bind your chat button with.
- In the Route Visitors to section, select Department and then choose from the Department drop-down list. Set priority from the with priority drop-down.
- Click Save.

You have successfully bound your chat button with an operator/agent. The chat requests from this chat button will be automatically routed to the selected agent or agents in the selected department.
Note: The Chat button defined by this campaign shows online only when the agent or department's status is online.